Table of Contents
Part 3: Side panels
Tidying the Combo View
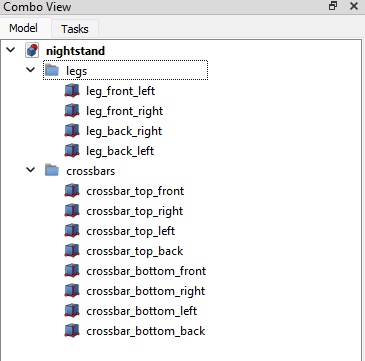
As the number of objects pile up in your tree view, we can add Groups (folder or directories really) to tidy up and structure the project a bit. You can right click on your project name, nightstand, in my case, and click on Create Group…
Click on the group, press F2, and rename to your liking.
Click on the top most object, hold shift, click on an object further below to select the entire row until so far. Now drag these objects into the group you want, holding the left mouse button.

These group will help you keep an overview and you can also use the spacebar when a group is selected to hide or show all the objects in the group.
Right side panel
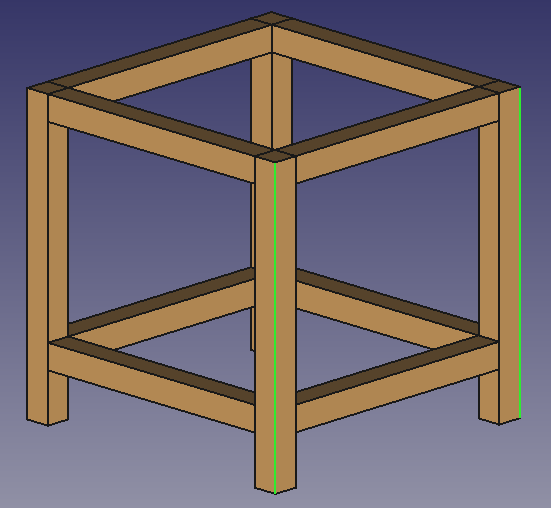
To create a panel for the right side of the nightstand, we can select the edges where it should come between. These are the two outermost edges on the right side. Hold the control key to select both edges, one by one.

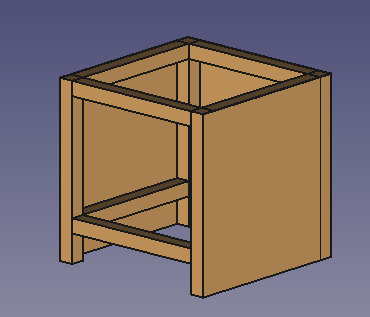
Now click on the button: panel, between, ZY (The order of your selection matters, try a different order if you do not get the right result)
While we’re at it, create a new Group in your Combo View and call it panels. Drag the newly created panel in there.
Select the new panel in the tree view, and go to the Data tab in the tree Combo View. Set the length to 3 millimeters, if we want to use plywood for instance.
Left side panel
The left side panel can be added several ways. I will use Magic Move to do it. Open Magic Move and select copy in the drop-down menu. Select the first panel, set the copy offset to 600 and press X-.
Rename the newly created object and drag it into the panels grup.
Backside panel
Select the outermost edges of the legs at the back of the nightstand. For this, you need to rotate around it in 3D space. Be sure to not select the edges of the newly created panels both those of the legs. Remember you can select those two panels and press space-bar to hide them temporarily.
With the outermost edges selected, press panel, between, ZX. Remember that the order in which you select the edges matters for the result. To make it work, have the rear viewed in the 3D viewport. Then select the right outermost edge on the screen first (which should be the left back leg), and then the other edge which is outermost left in the screen, but is actually the right side back leg. With the rear view in sight, the legs are mirrored in your screen of course.
Change the width to this panel to 3 mm, rename it and drag it into the panels group.


