Table of Contents
Part 2: Finishing the Frame with Crossbars
In the Combo View model tab, you now have four items: panelZX, Copy, panelZX, Copy, panelZX 001, and Copy, panelZX 002. You can click on each one of those and press F2 to rename them to something that is easily recognizable and distinguishable for yourself. I have renamed each leg to the respective position they’re having, front/back, left/right, like: leg_front_left.
Toggle visibility
To sturdy our design, we can implement crossbars between our legs. Let’s begin with a crossbar between our front-most two legs. For the sake of knowing that it exist, let’s hide our two legs in the back. You can do this by selecting a backside leg in the tree view (Combo View, model tab) and press control on the keyboard while clicking on the other backside leg. With both of them selected (the should light up green in your 3D viewport), press the space-bar to hide them. You can press the space-bar again to make them visible again.
Vertex, edge and face
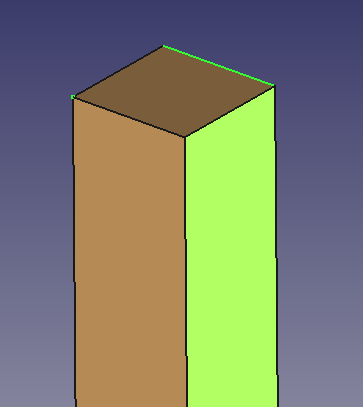
Now, only the two front legs are visible in the 3D viewport and I hope you have some skill moving around in 3D space with the help of the mouse. We need to select the two inner faces of the two legs. A vertex is like a point on your 3D object, an edge is a line between two points (vertices) and a face is a surface between edges.
Before you make this step:
- Make sure absolutely nothing is selected by clicking anywhere in the 3D viewport with the left mouse button.
- Make sure you have a front view of your design. Look at the cube in your 3D viewport to see if you have the front view.
Select the face of the left beam that faces the right beam. Now move the camera around to view the face of the right beam that is facing the left beam. Be sure to use control + left click to add to your selection. Both faces must be selected at the same time.
First crossbar
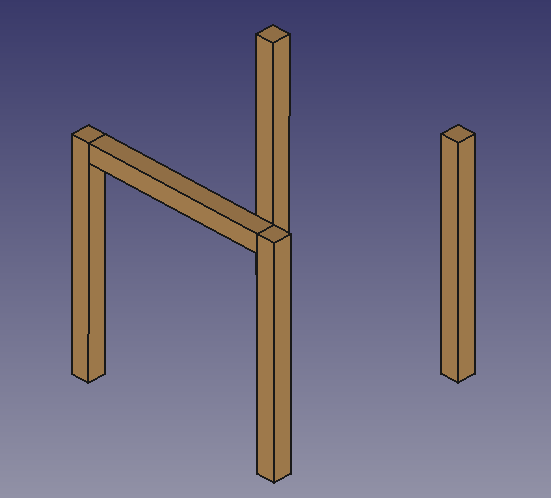
Now click on the button: panel, between, XY

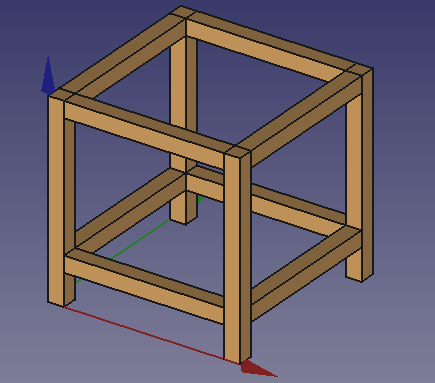
Make all legs visible again. Your viewport should look like this:
Other crossbars
Remember:
- To deselect everything: left click anywhere in an empty spot in the 3D viewport.
- To add to your selection: hold the control key and left click on a vertex, edge or face to add to your selection.
Now for the rest of the crossbars we can do the following:
- Selected opposite faces between Front Right and Back Right leg and press: panel, between, YX (this is another button than the previous crossbar, hover over a button with the mouse to see the name of it)
- Selected opposite faces between Front Left and Back Left leg and press: panel, between, YX
Remember to rename all new objects in the tree view to make it clear to yourself (and possible others) to what the object is.
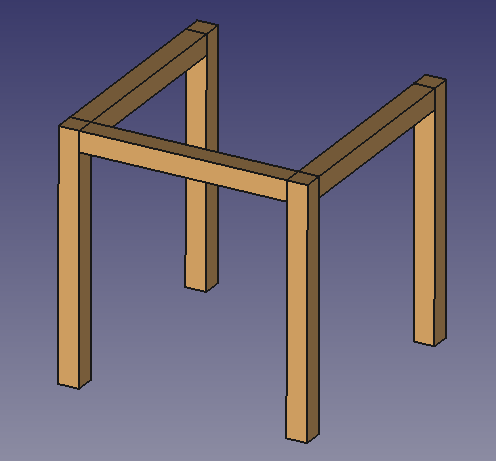
The last top side crossbar
Click on the crossbar in the front. Click on the magic move button (we used this to create the legs). Select copy in the drop-down menu. Set the copy-offset to 500 (millimeter). Click on Y+. Rename the new object. Done.
Is something off?
If something seems off with copying, remember the copy system remembers the last location you copied to, even if you remove the object afterwards. To start fresh, just remove a wrongly placed item from the tree view by clicking on it and press delete on your keyboard. Click on Refresh selection in the Magic Move window. Then adjust the copy offset again. Click on the object you want to copy, and then click on one of the copy along axis buttons.
Lower crossbars
We are going to copy each of the crossbars to a lower location. With the Magic Move window still open, be sure to have selected Copy in the first drop-down menu.
- Click refresh selection.
- Set the copy offset to 400.
- Click on the first crossbar in the tree view
- Click on Copy along Z: Z-
- Click refresh selection.
- Click on the second crossbar in the tree view.
- Set the copy offset to 400.
- Click on Copy along Z: Z-
- Click refresh selection.
- Click on the third crossbar in the tree view.
- Set the copy offset to 400.
- Click on Copy along Z: Z-
And do the same for the last one.
