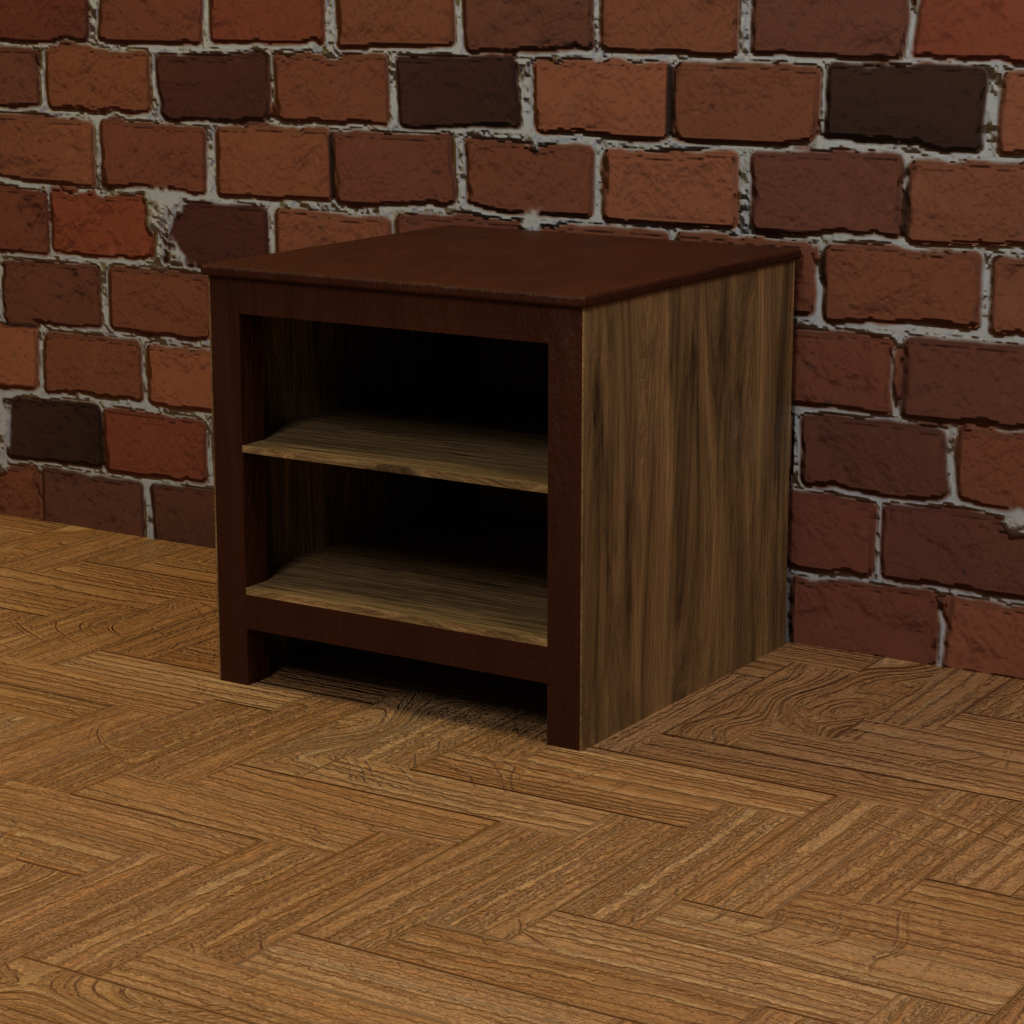
Table of Contents
Part 4: Top
I want the top layer to be a little bit bigger than the total width and length of the nightstand.
Top layer panel
Click on the panel, XY button. This will create a new panel that will appear and overlaps the other nightstand parts, which is okay for now.
Find and set the dimensions in the data tab of the Combo View:
- Length 620 mm
- Width 620 mm
- Height 15 mm
Create a new group: top and move your renamed object inside it.
Click on your table top in the tree view. Go to the data tab in the Combo View. Click on Placement so three dots will appear. Click on those 3 dots.

Per default, your new object is at location 0,0,0 (X,Y,Z) in the 3D world space. These are it’s coordinates.
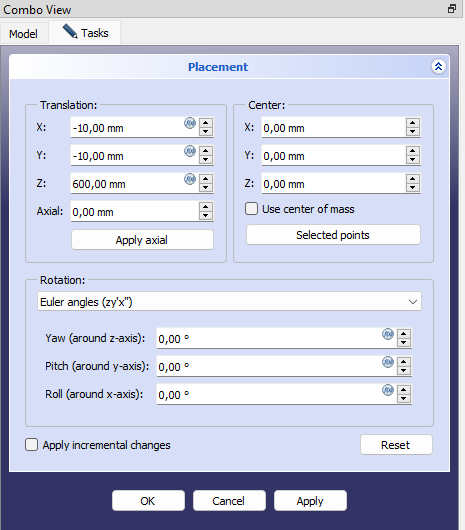
To move the table top to the right position we need to fill in the following values at the Translation:
- X: -10 mm
- Y: -10 mm
- Z: 600 mm
Click on Apply and OK.
The -10 millimeters is because we made our table top 20 mm too big. This way it will stick out 1 centimeter at each side.
Smooth and safe edges
Chamfer
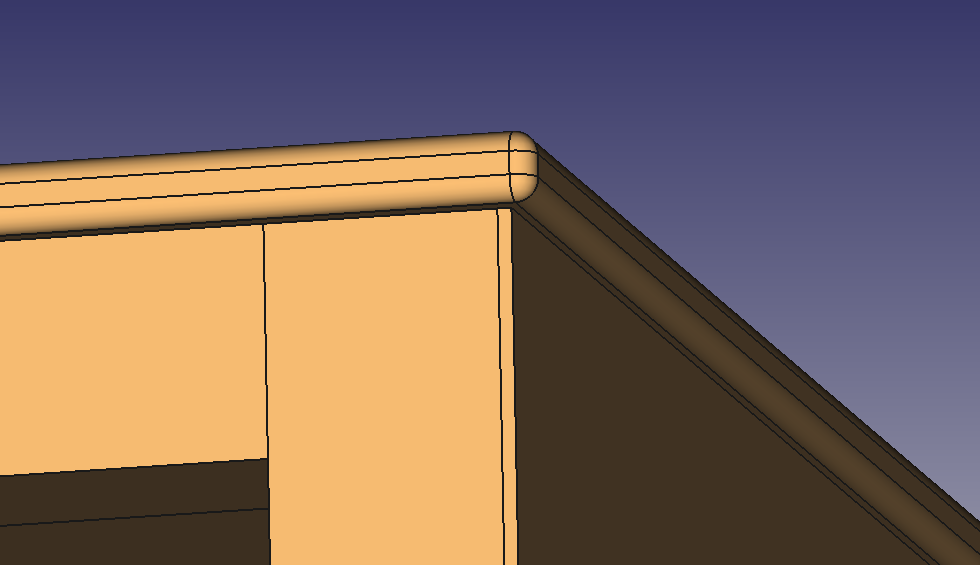
Our table top is now still pointy and we’re going to make it safe and smooth. Click and select your table top in the Tree view. Click on the Edge to Chamfer 1/2 thickness button.
Some explanation about FreeCAD
Now a lot has happened. And if you’re unfamiliar with FreeCAD, you will have to learn a whole new context of the application. Behind the scenes, FreeCAD created a so called Part with a Body inside of it. A Part can consist of multiple bodies. Like the documentation points out, a Part is geometrical figure that can be seen in the 3D view.
A body is a container object that can hold 2D sketches and 3D geometrical features to build a solid shape, according to the documentation. When you design a body, each step in which you edit your body will build upon the previous design step. So if a design step gives a certain result, the next design step will use that result to create the next result. For instance, you create a sketch, then pad the sketch into a solid, then cut out something of that solid. You cannot do the cutting without padding it first.
Anyhow, this application takes times to learn and grasp. For now, we can press control + z to get our table top back into the tree view which FreeCAD removed by pressing the edge to chamfer button. After it’s back, hide it with the spacebar. We don’t need it, but this is how you would get it back if you wanted to.
Back to Chamfer
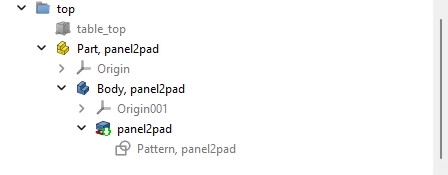
Double click on panel2pad to make sure its length is set to 15 mm. Press OK. Go back to the Model tab of the Combo View.
Now single click on panel2pad
Open the Part Design workbench. You can do this by clicking on the Drop-down in the interface that is now set to Woodworking.
Click on Fillet, set the radius to 5 mm and press OK.
This will add the Fillet to the body. Remember that it’s now part of a chain of editing. This did build upon the padding of the sketch. These steps were done by the Chamfer button for us. It might be kind of confusing, but exposing yourself longer to it will make it clear eventually.
